Step 1: Open an existing patient. Then click on the “Notes” tab.
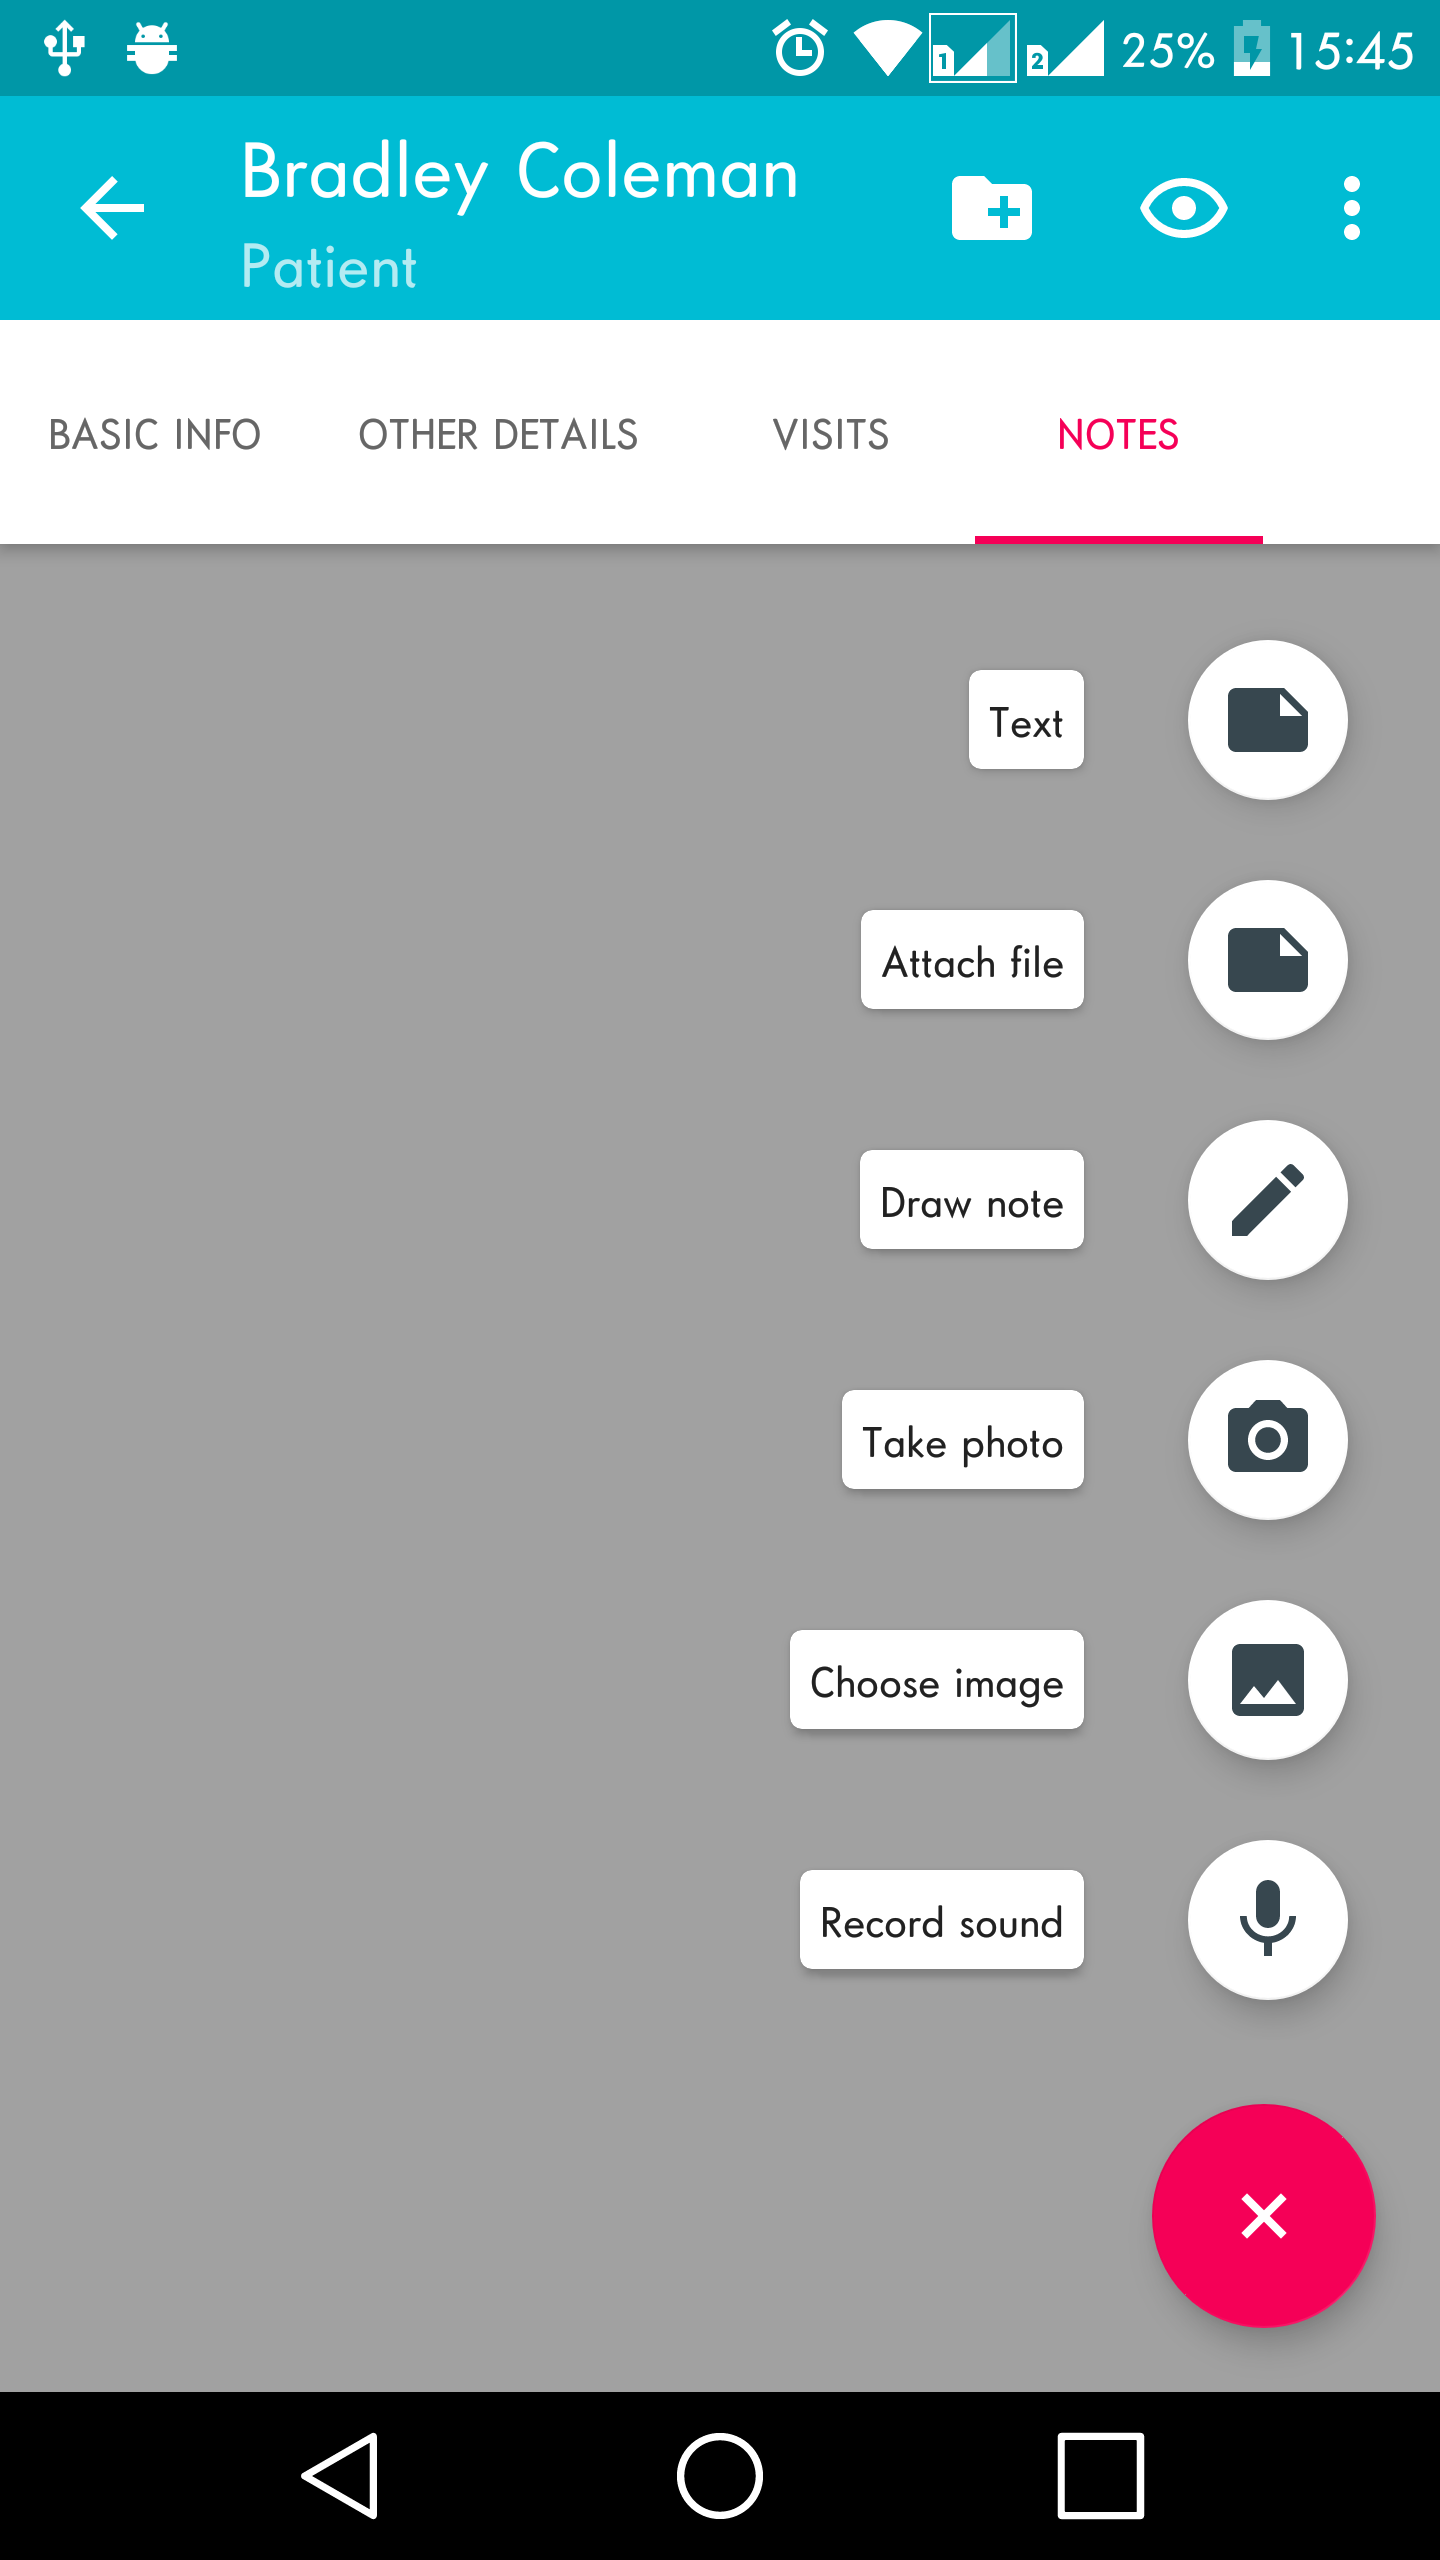
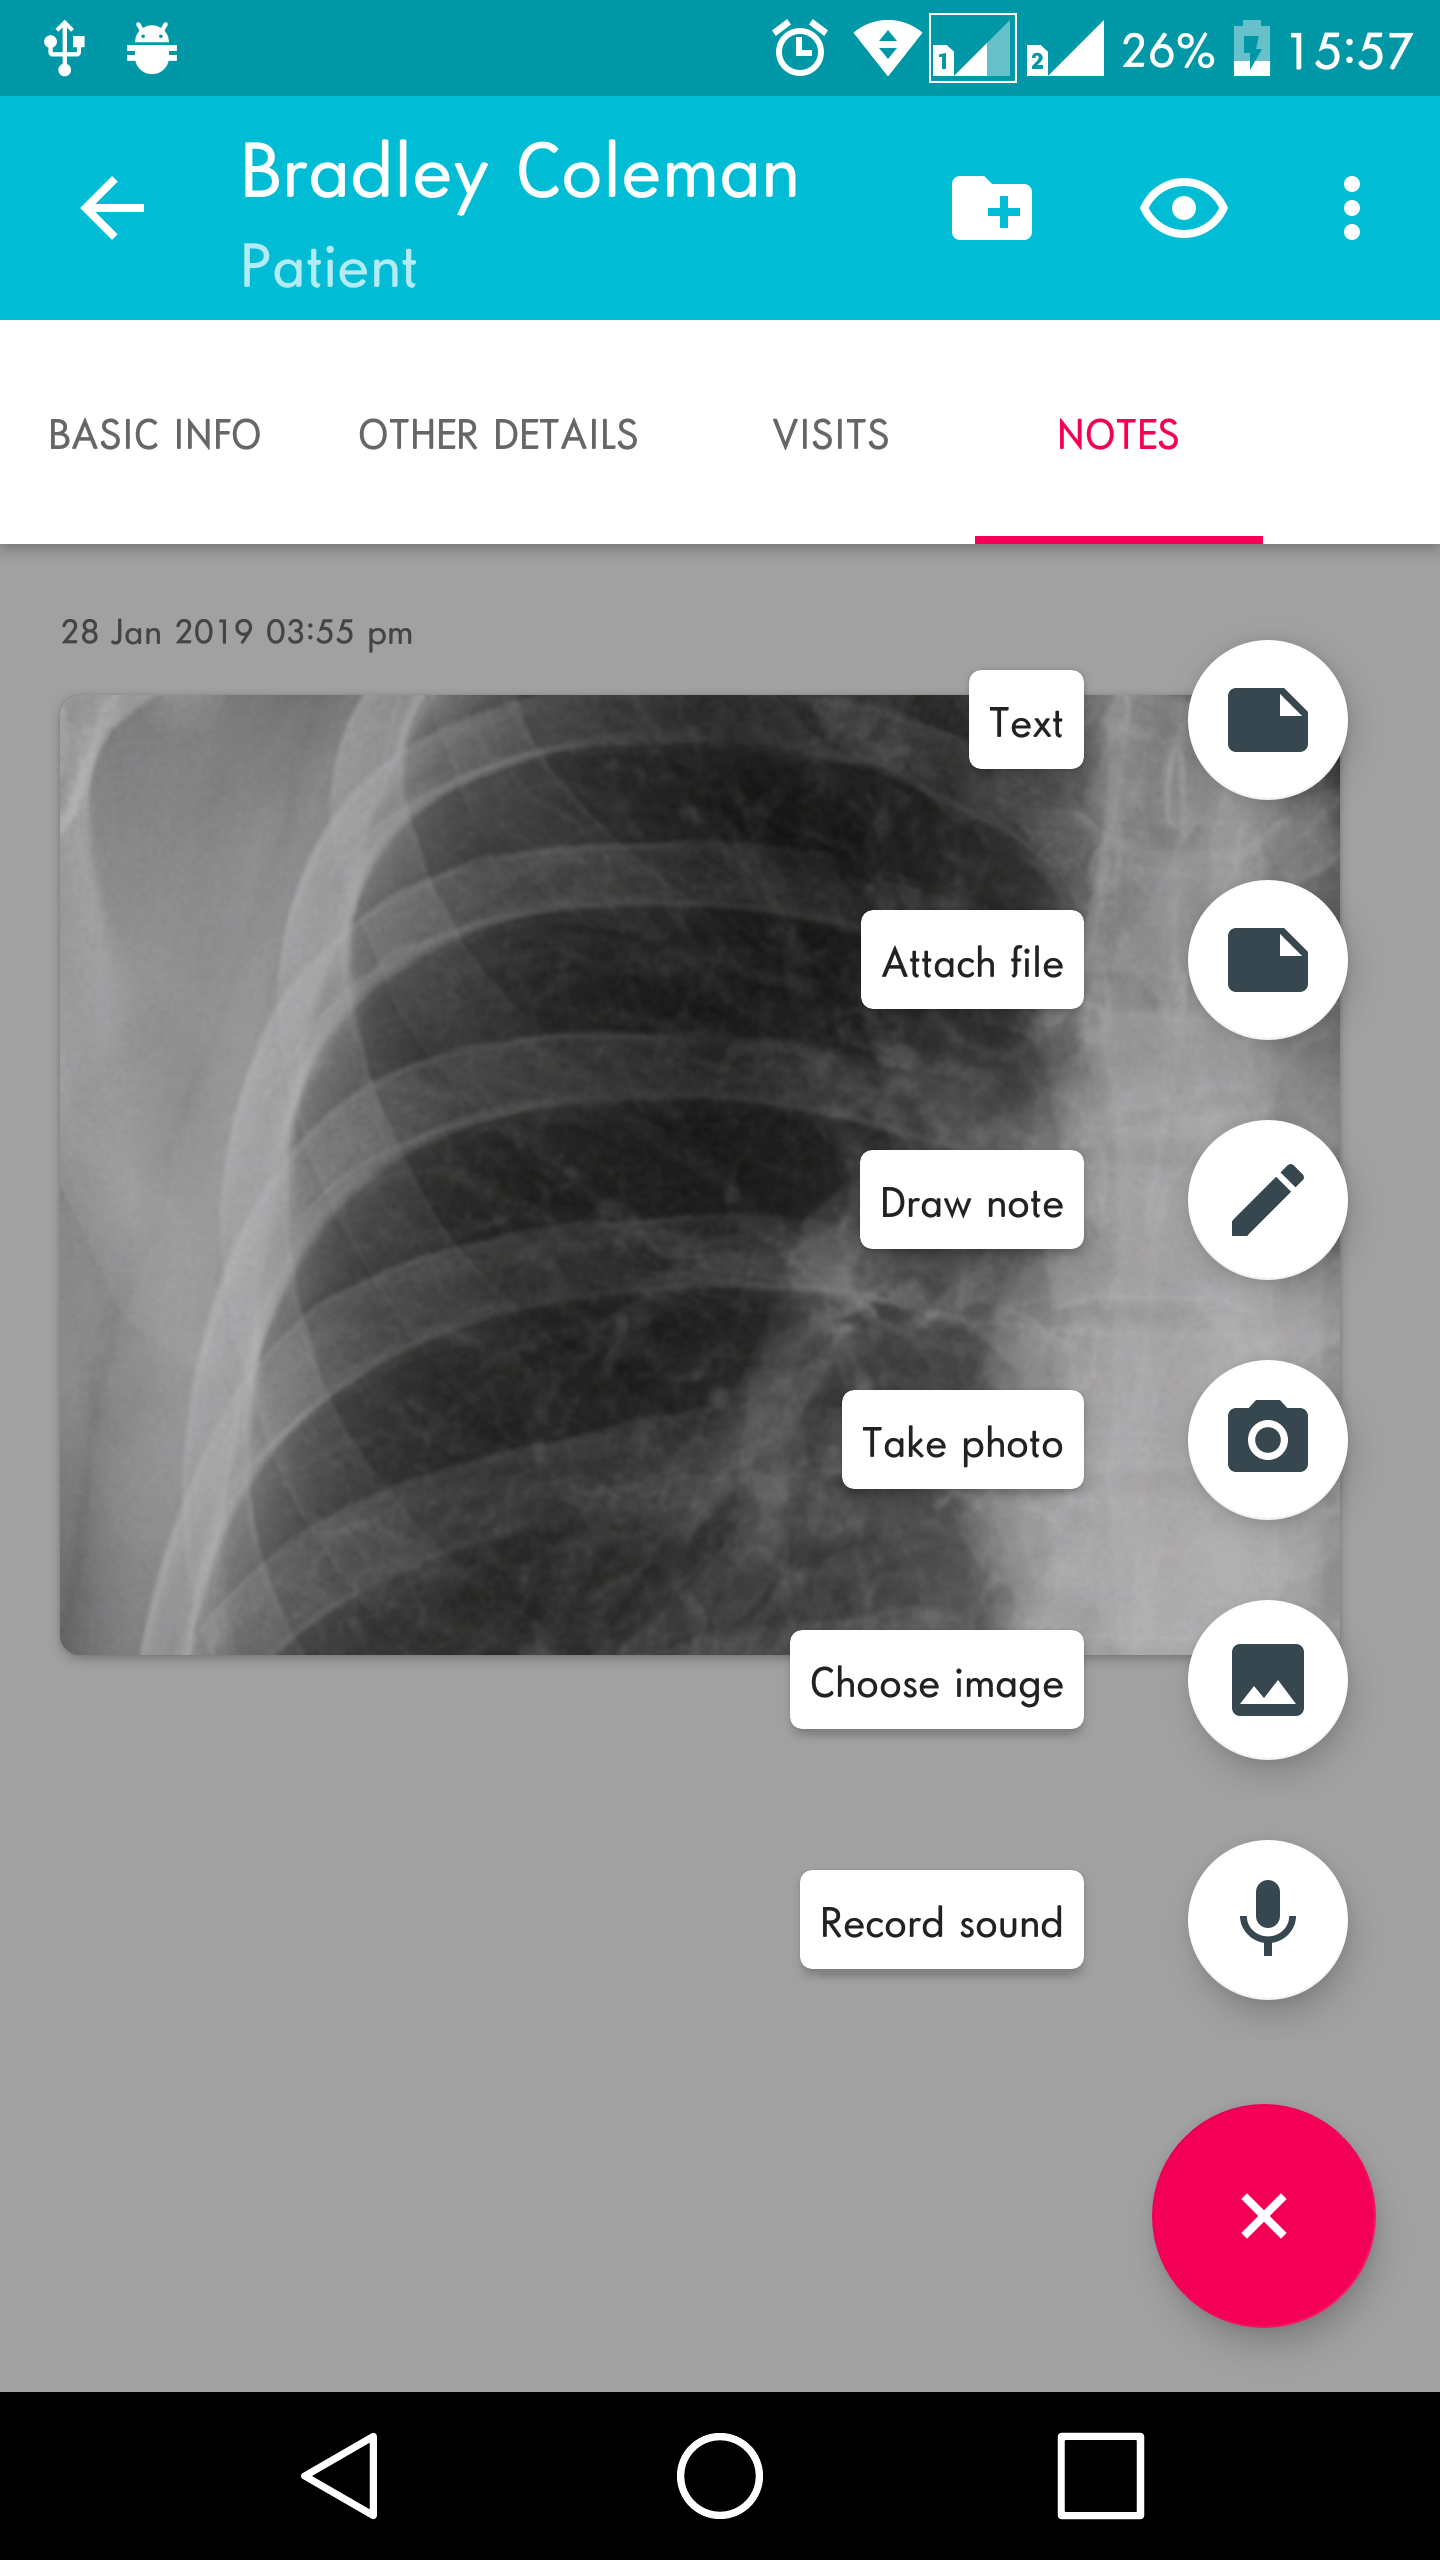
Step 2: Click on the + icon > then click “Choose image”
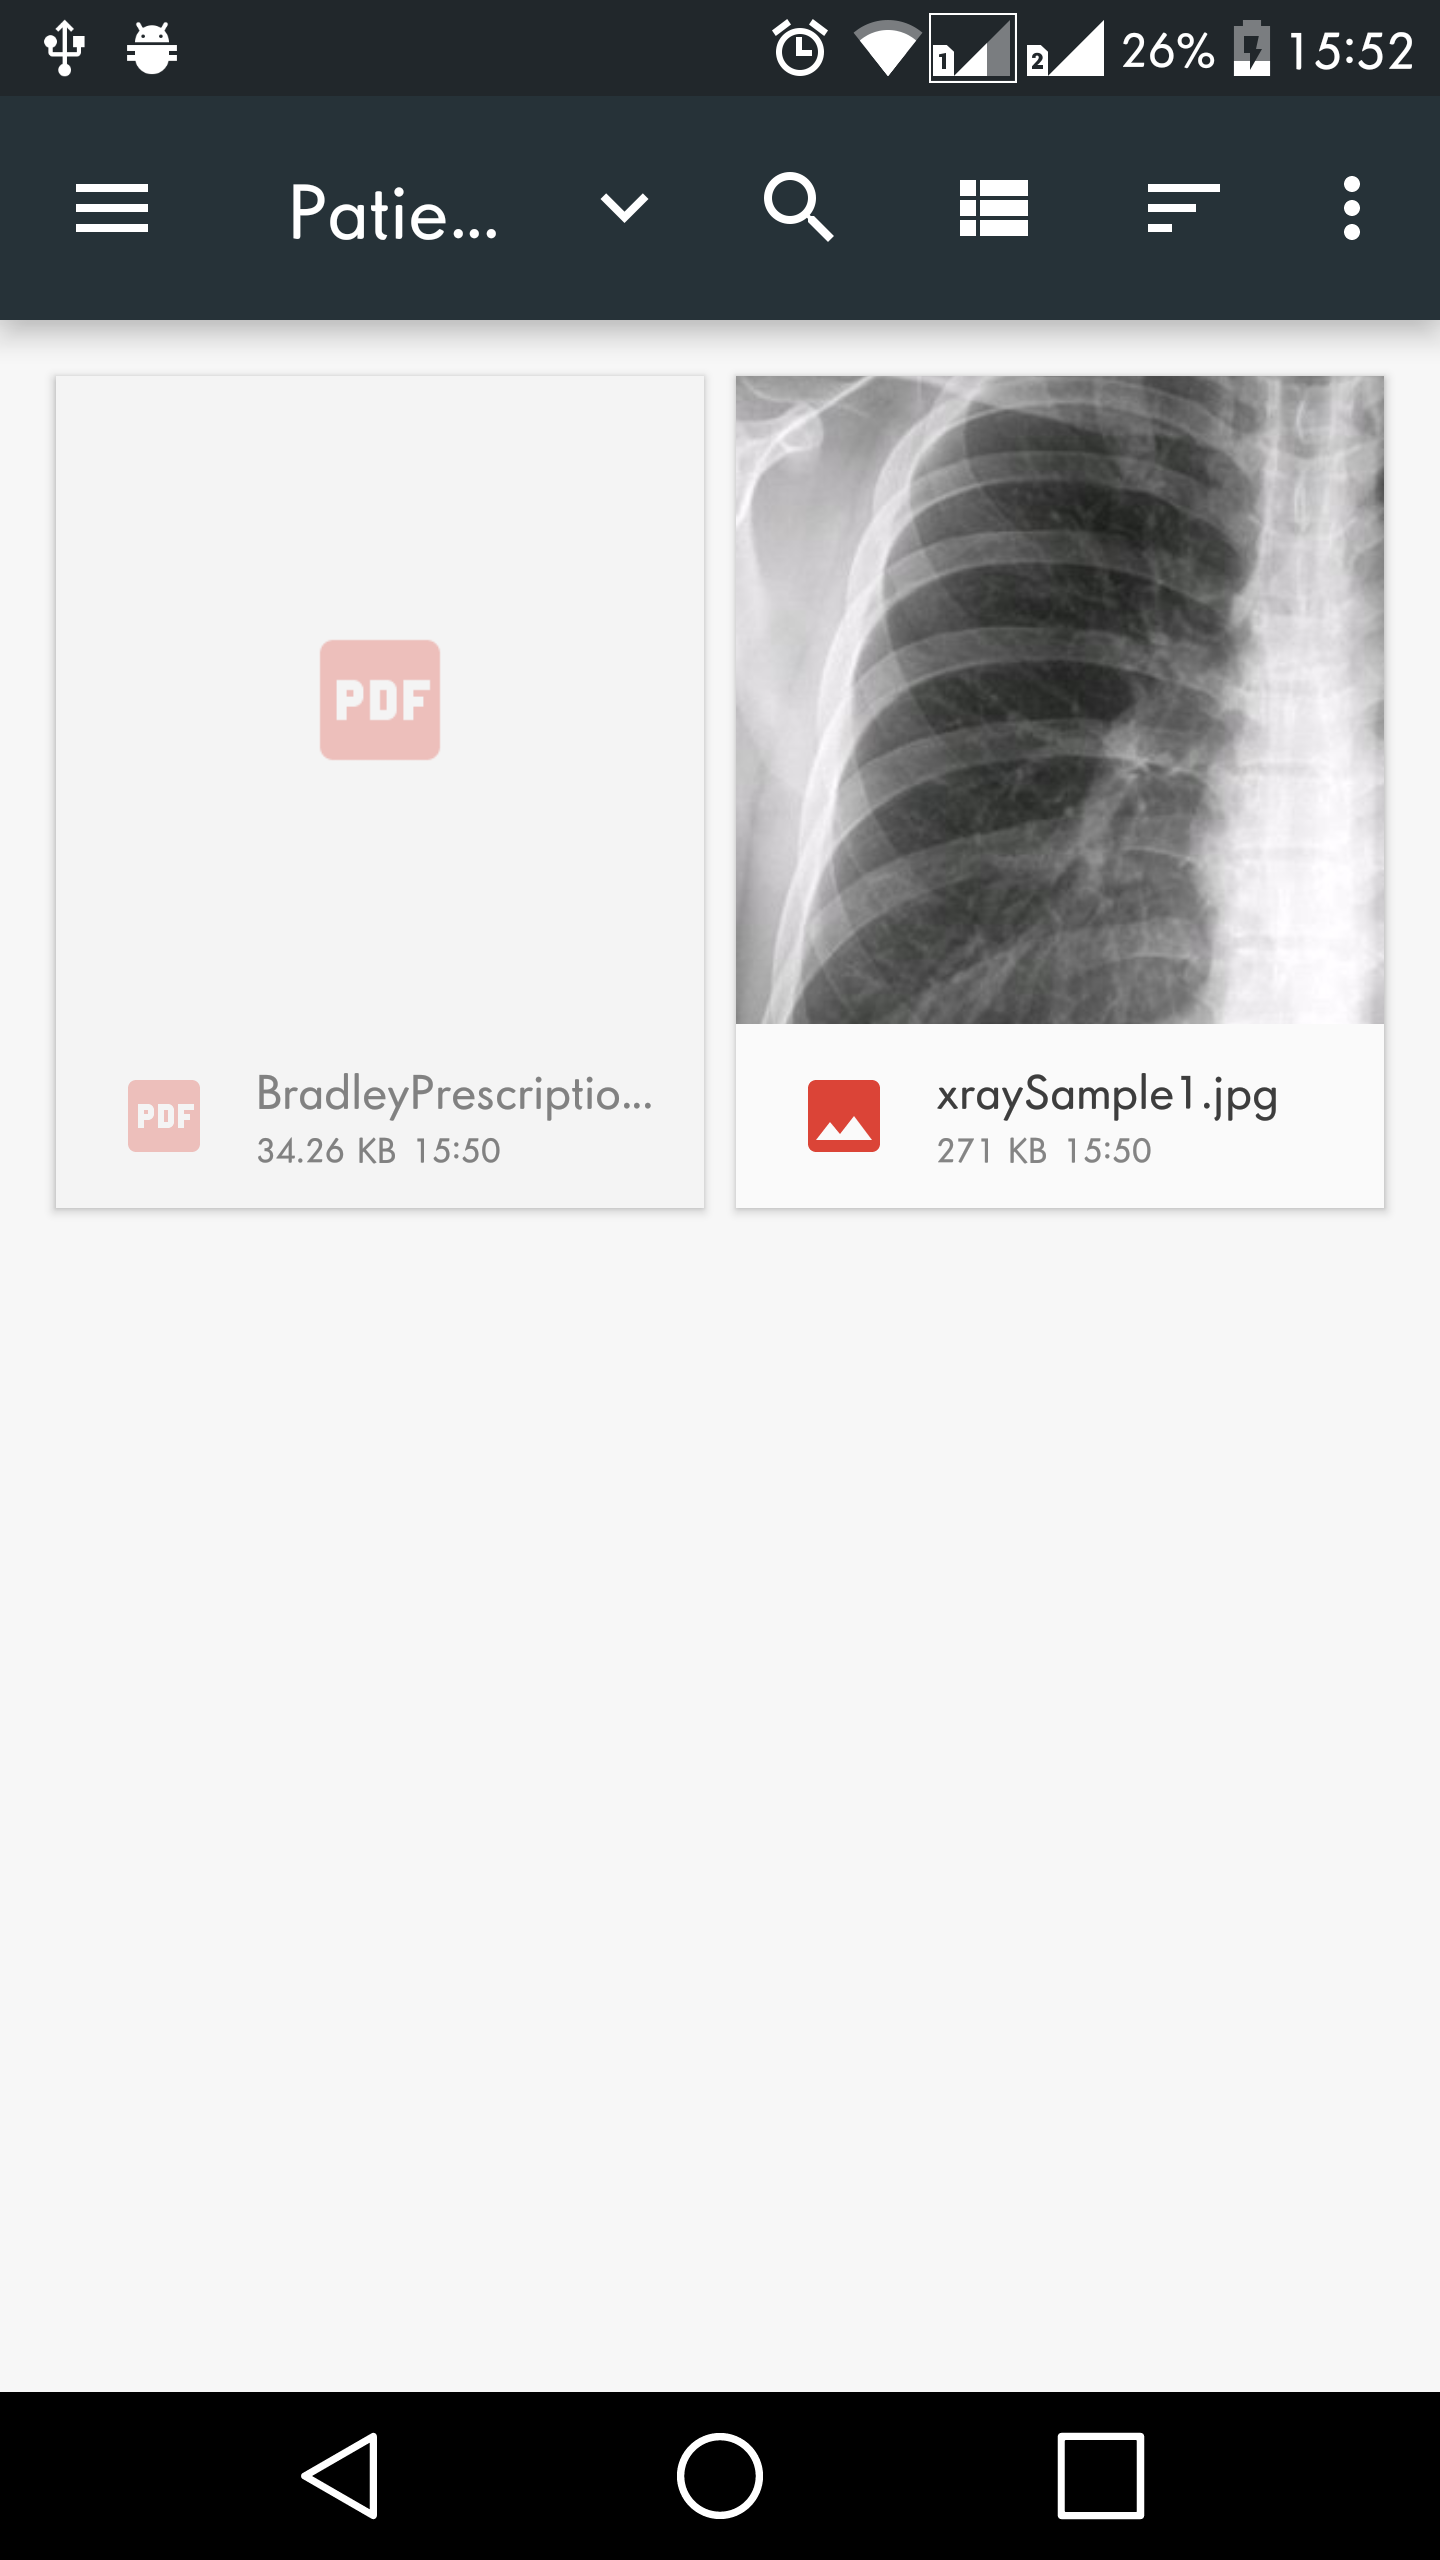
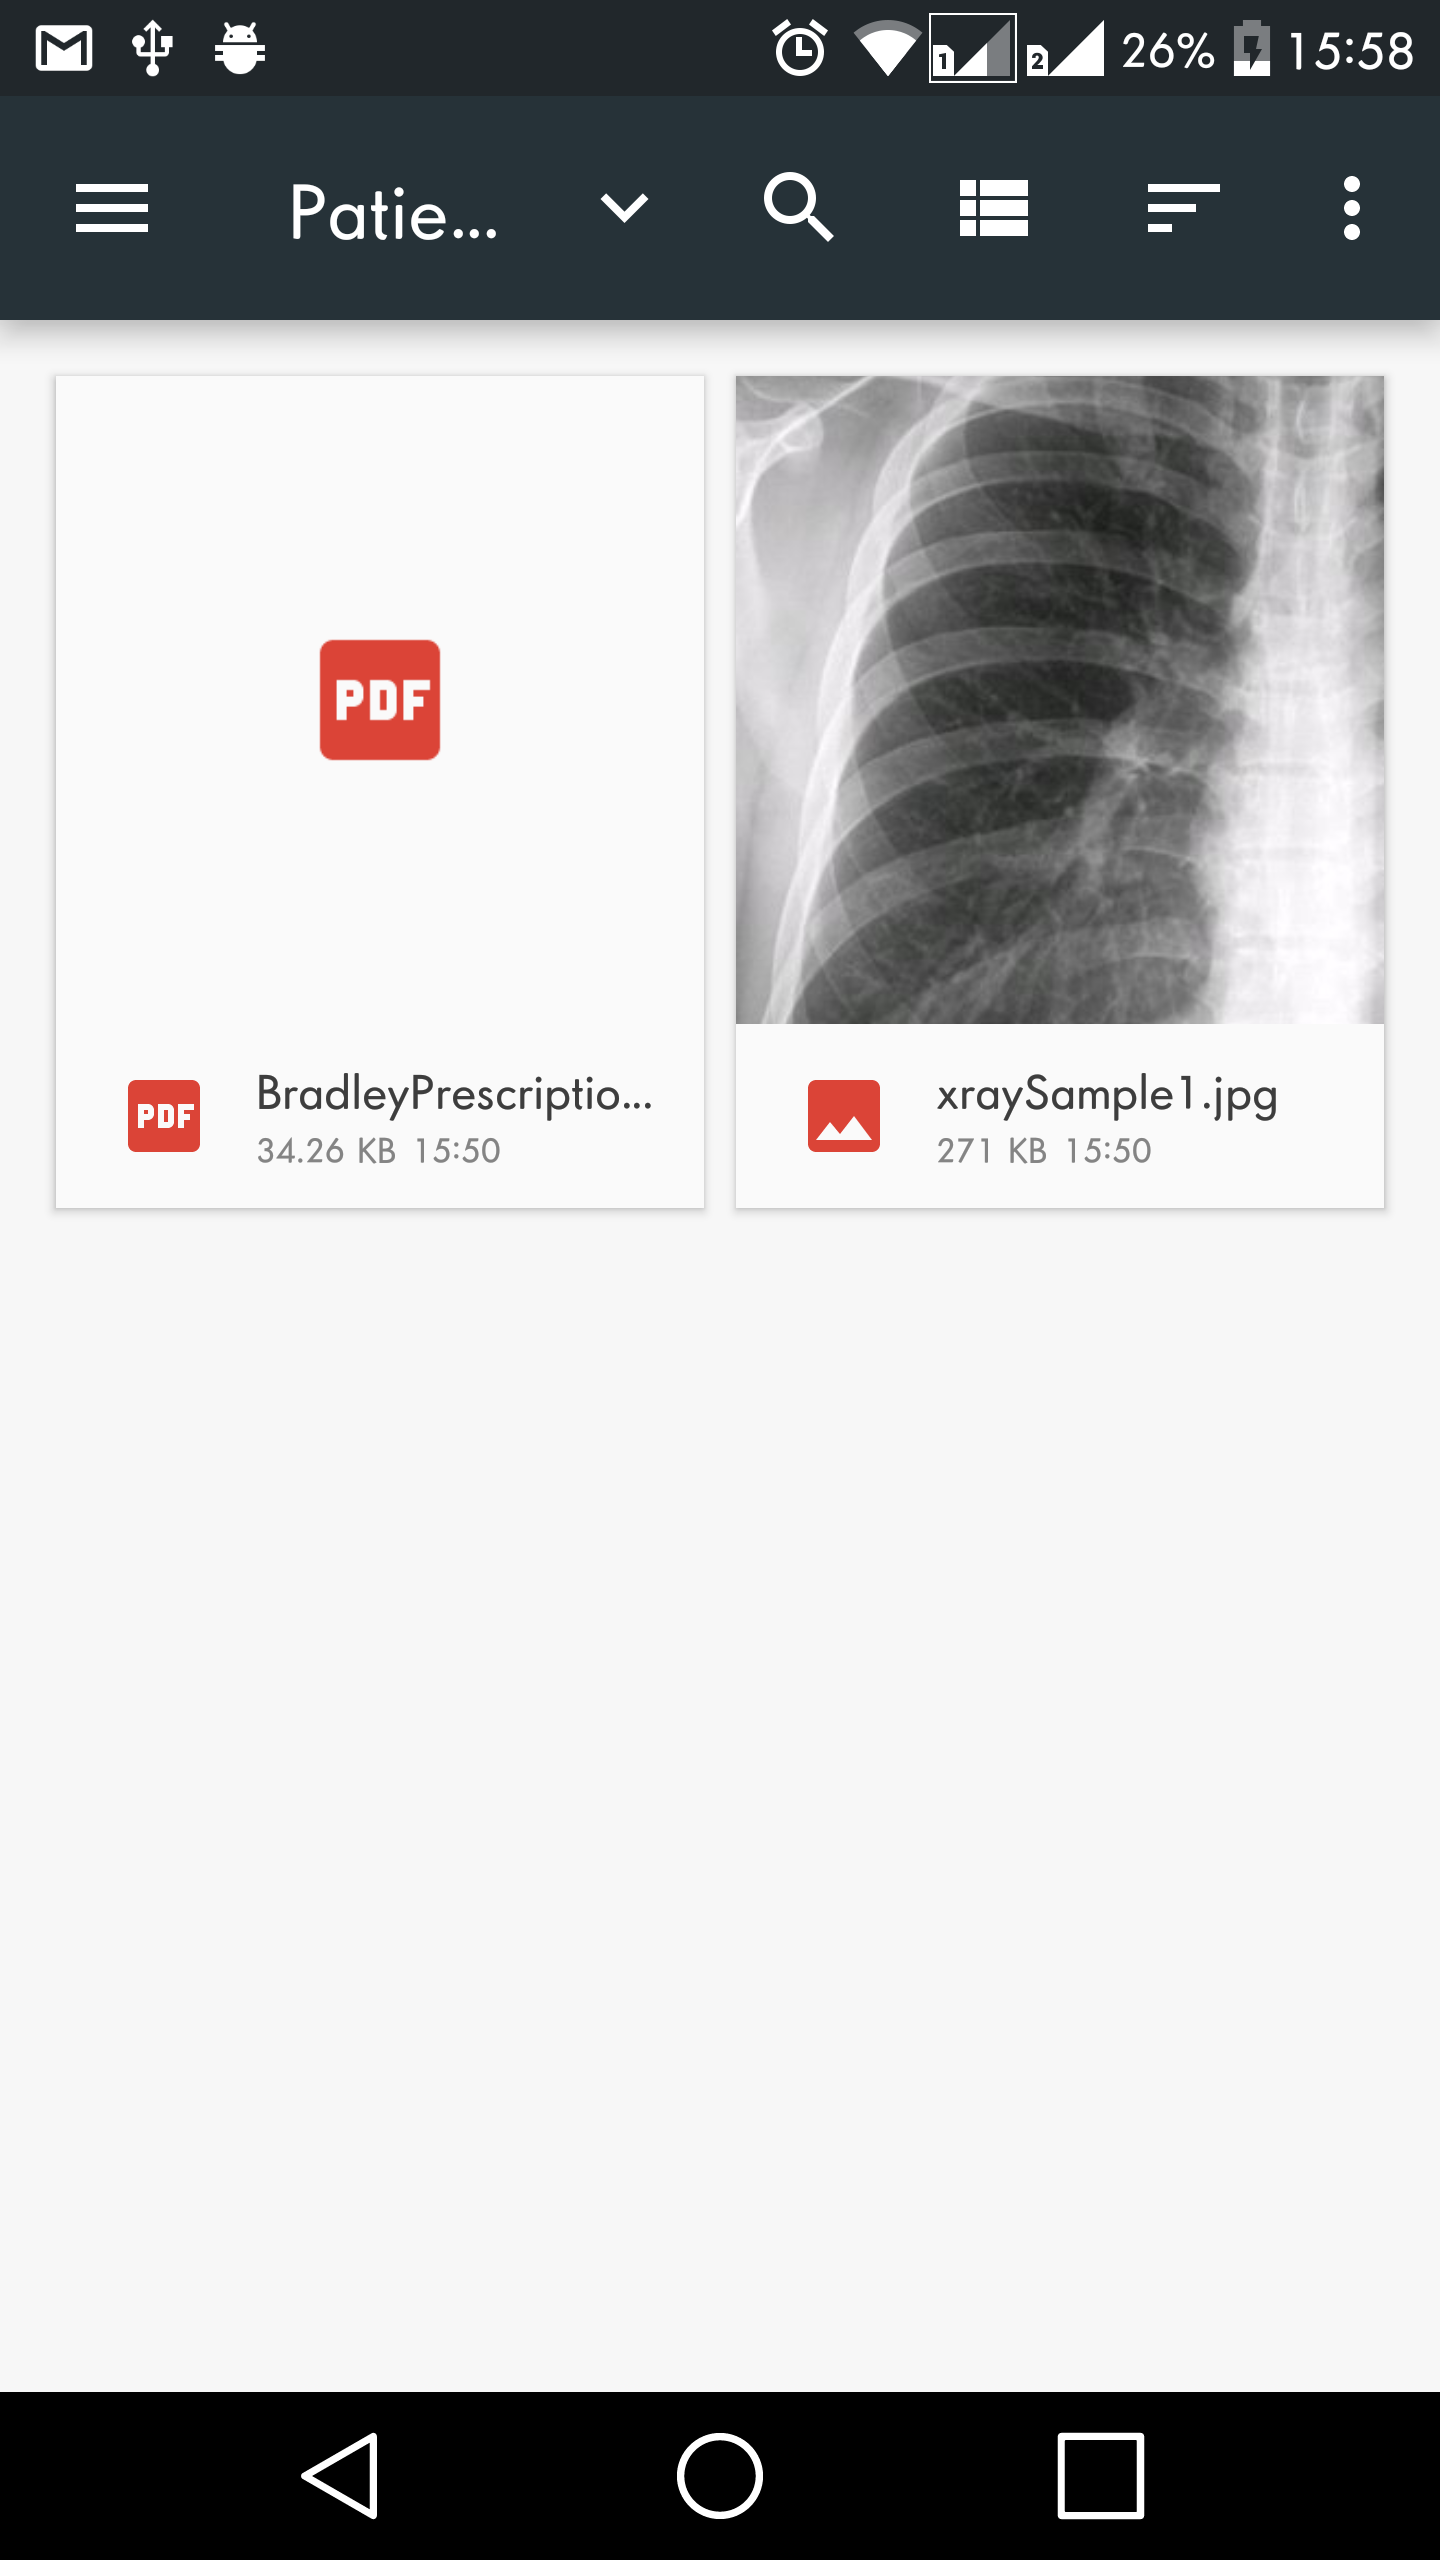
Step 3: Choose the image to be attached.
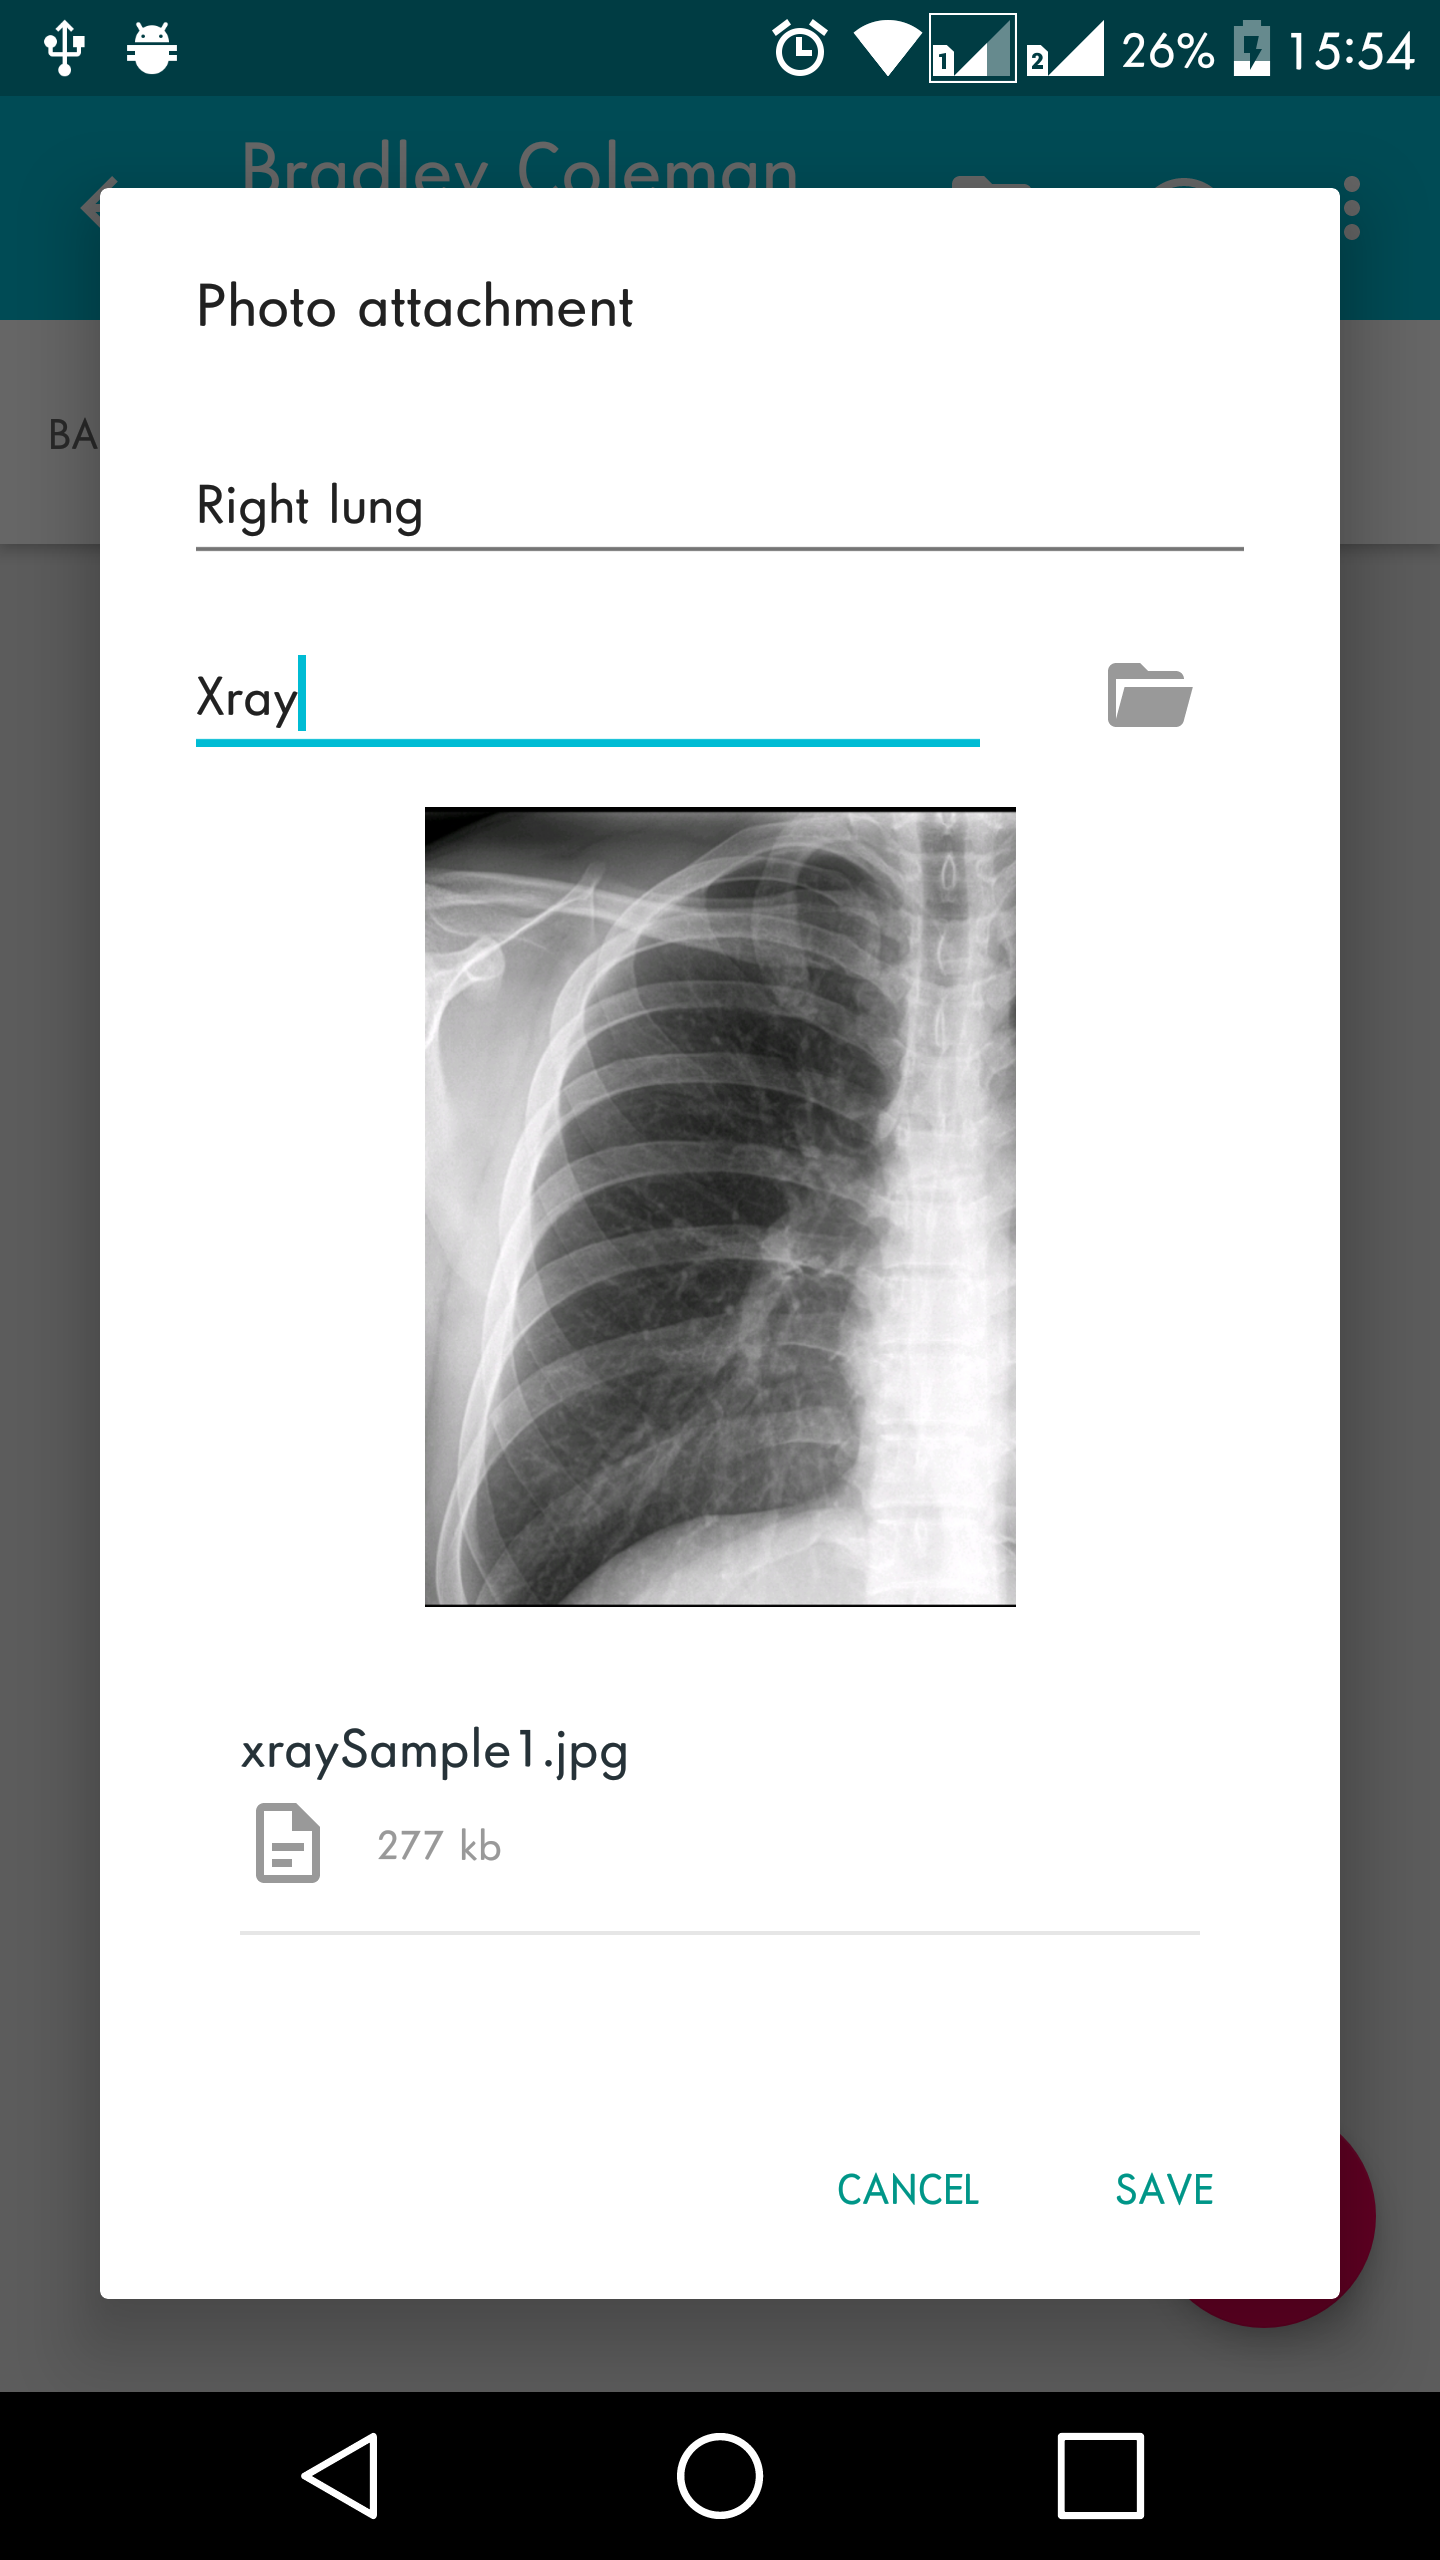
Step 4. Enter the title and category of the attached image. > Then click on Save.
Step 5: Then to attached a file to the patient > Click again the + icon > Choose “Attach file”
Step 6: Then choose the file to be attached.
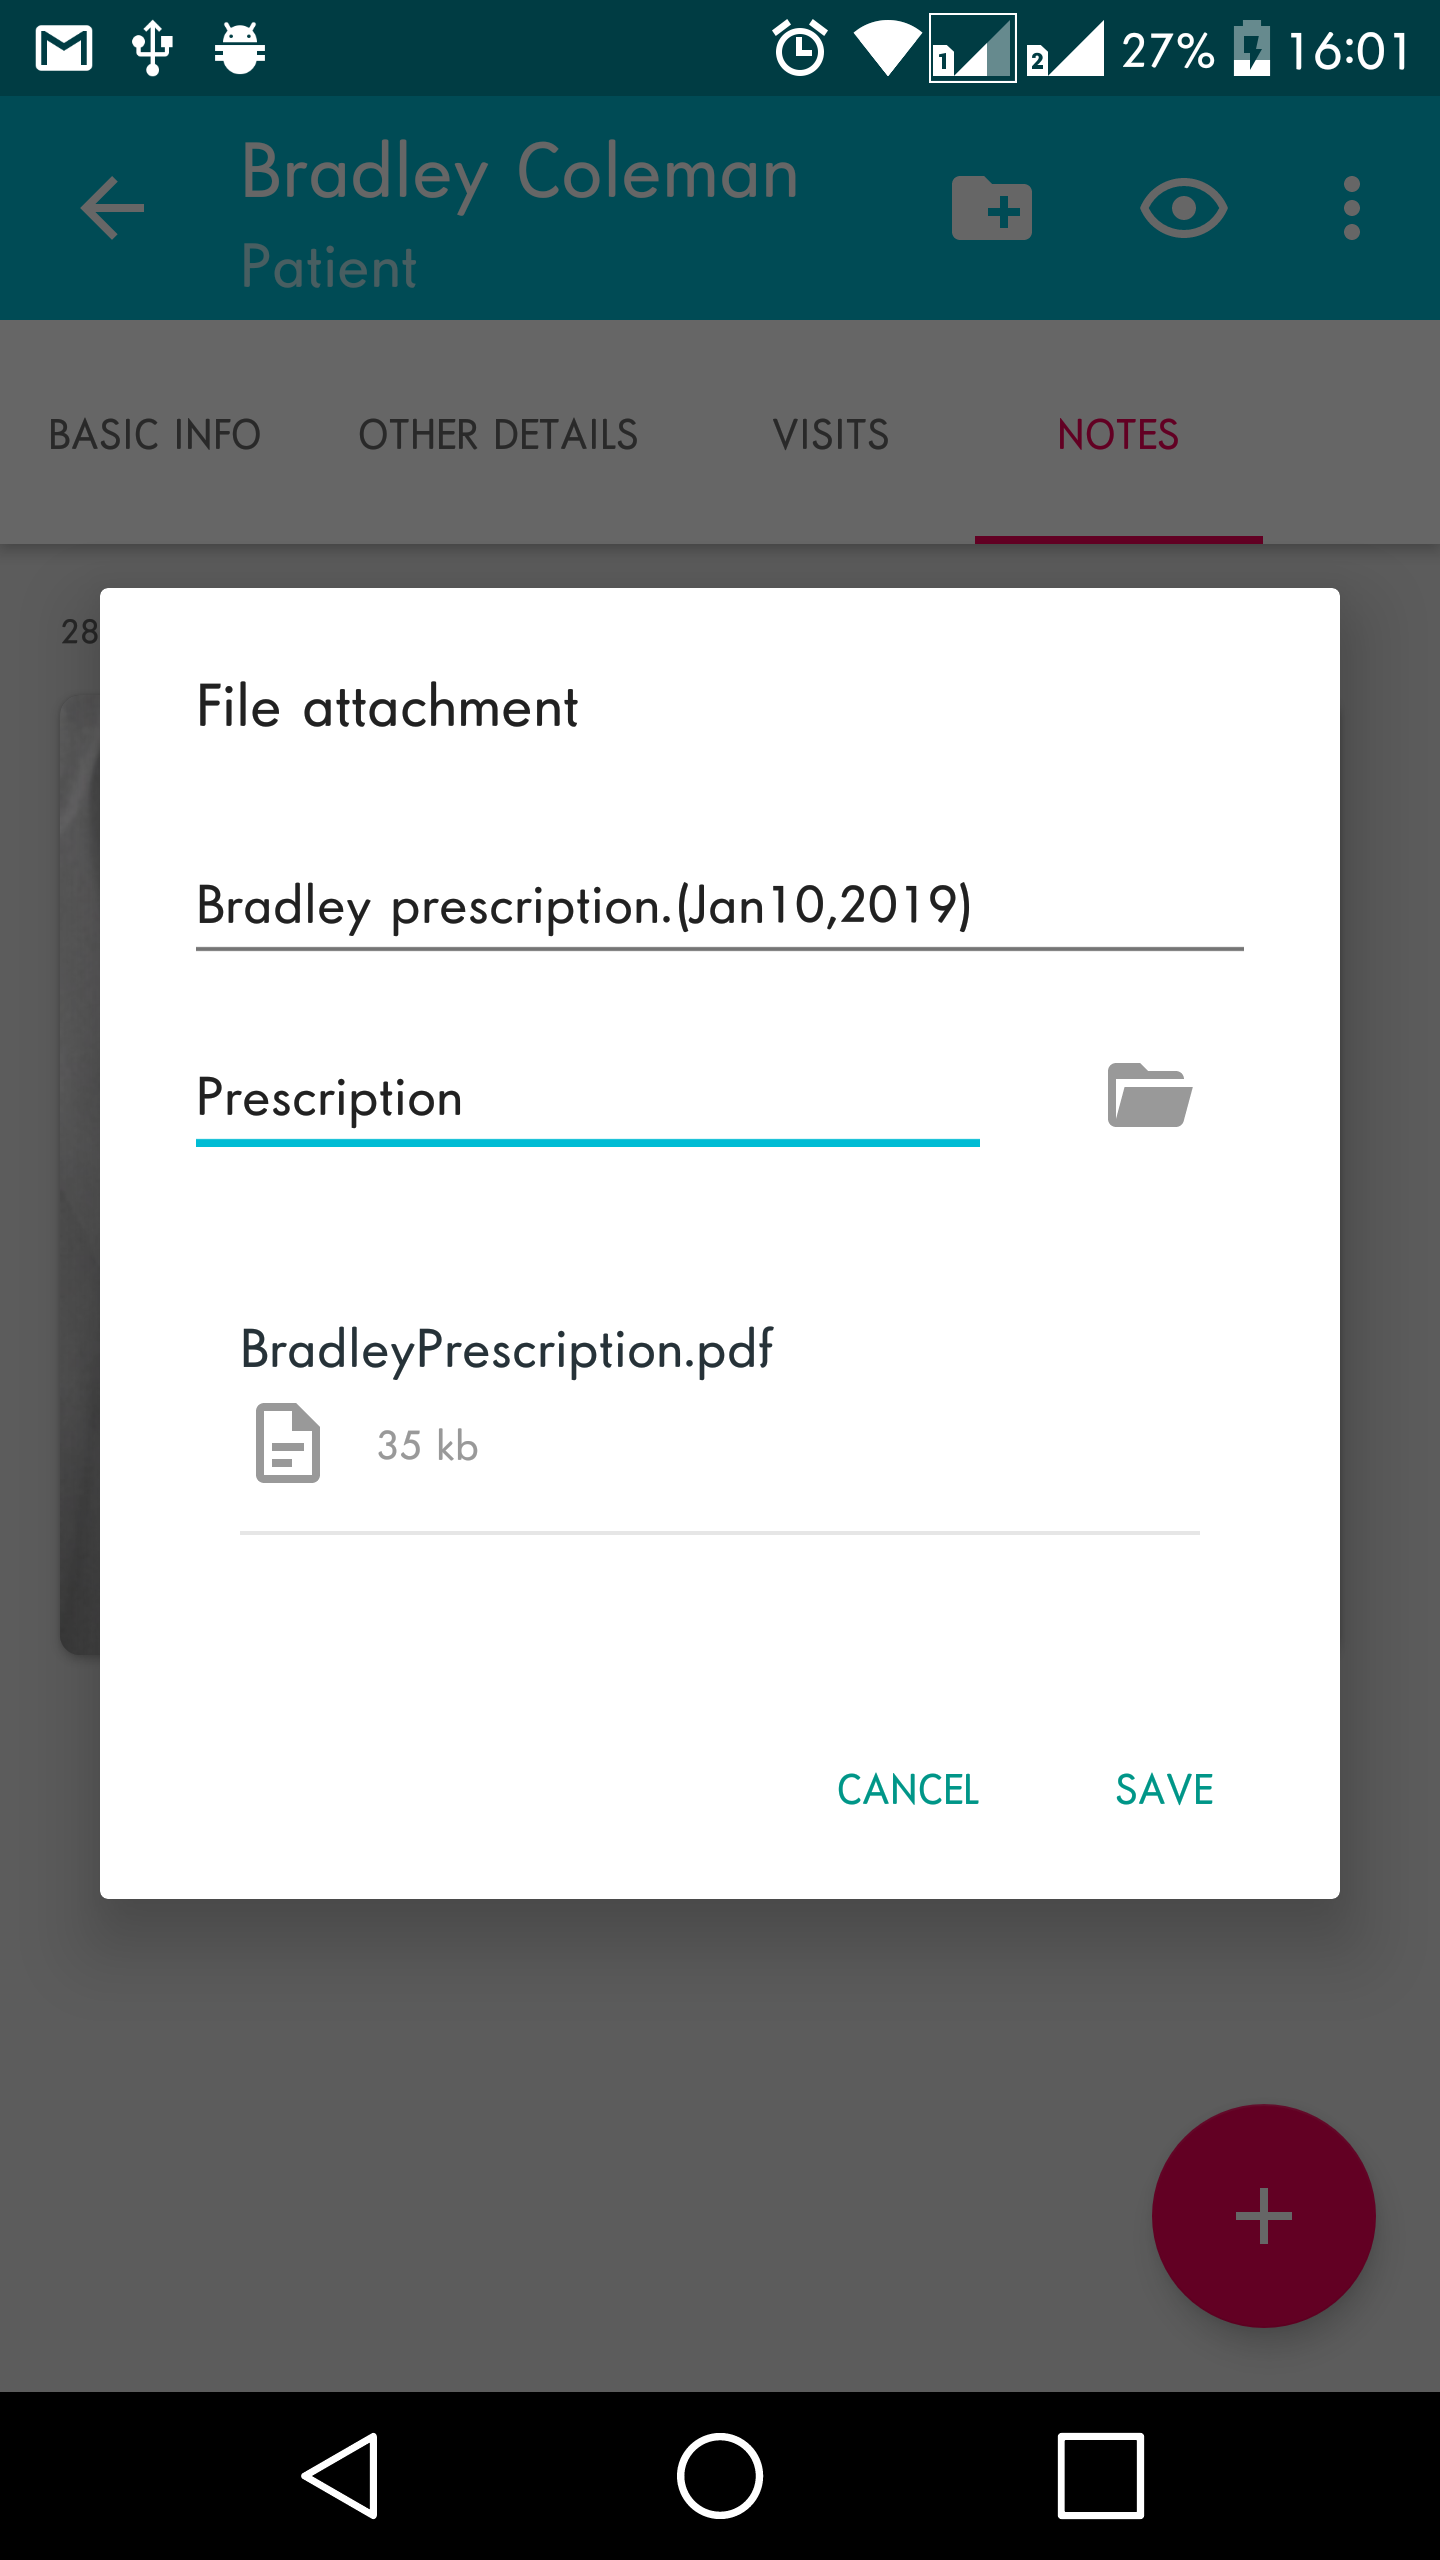
Step 7: Then enter the title and category of the attached file. > Then click on save.
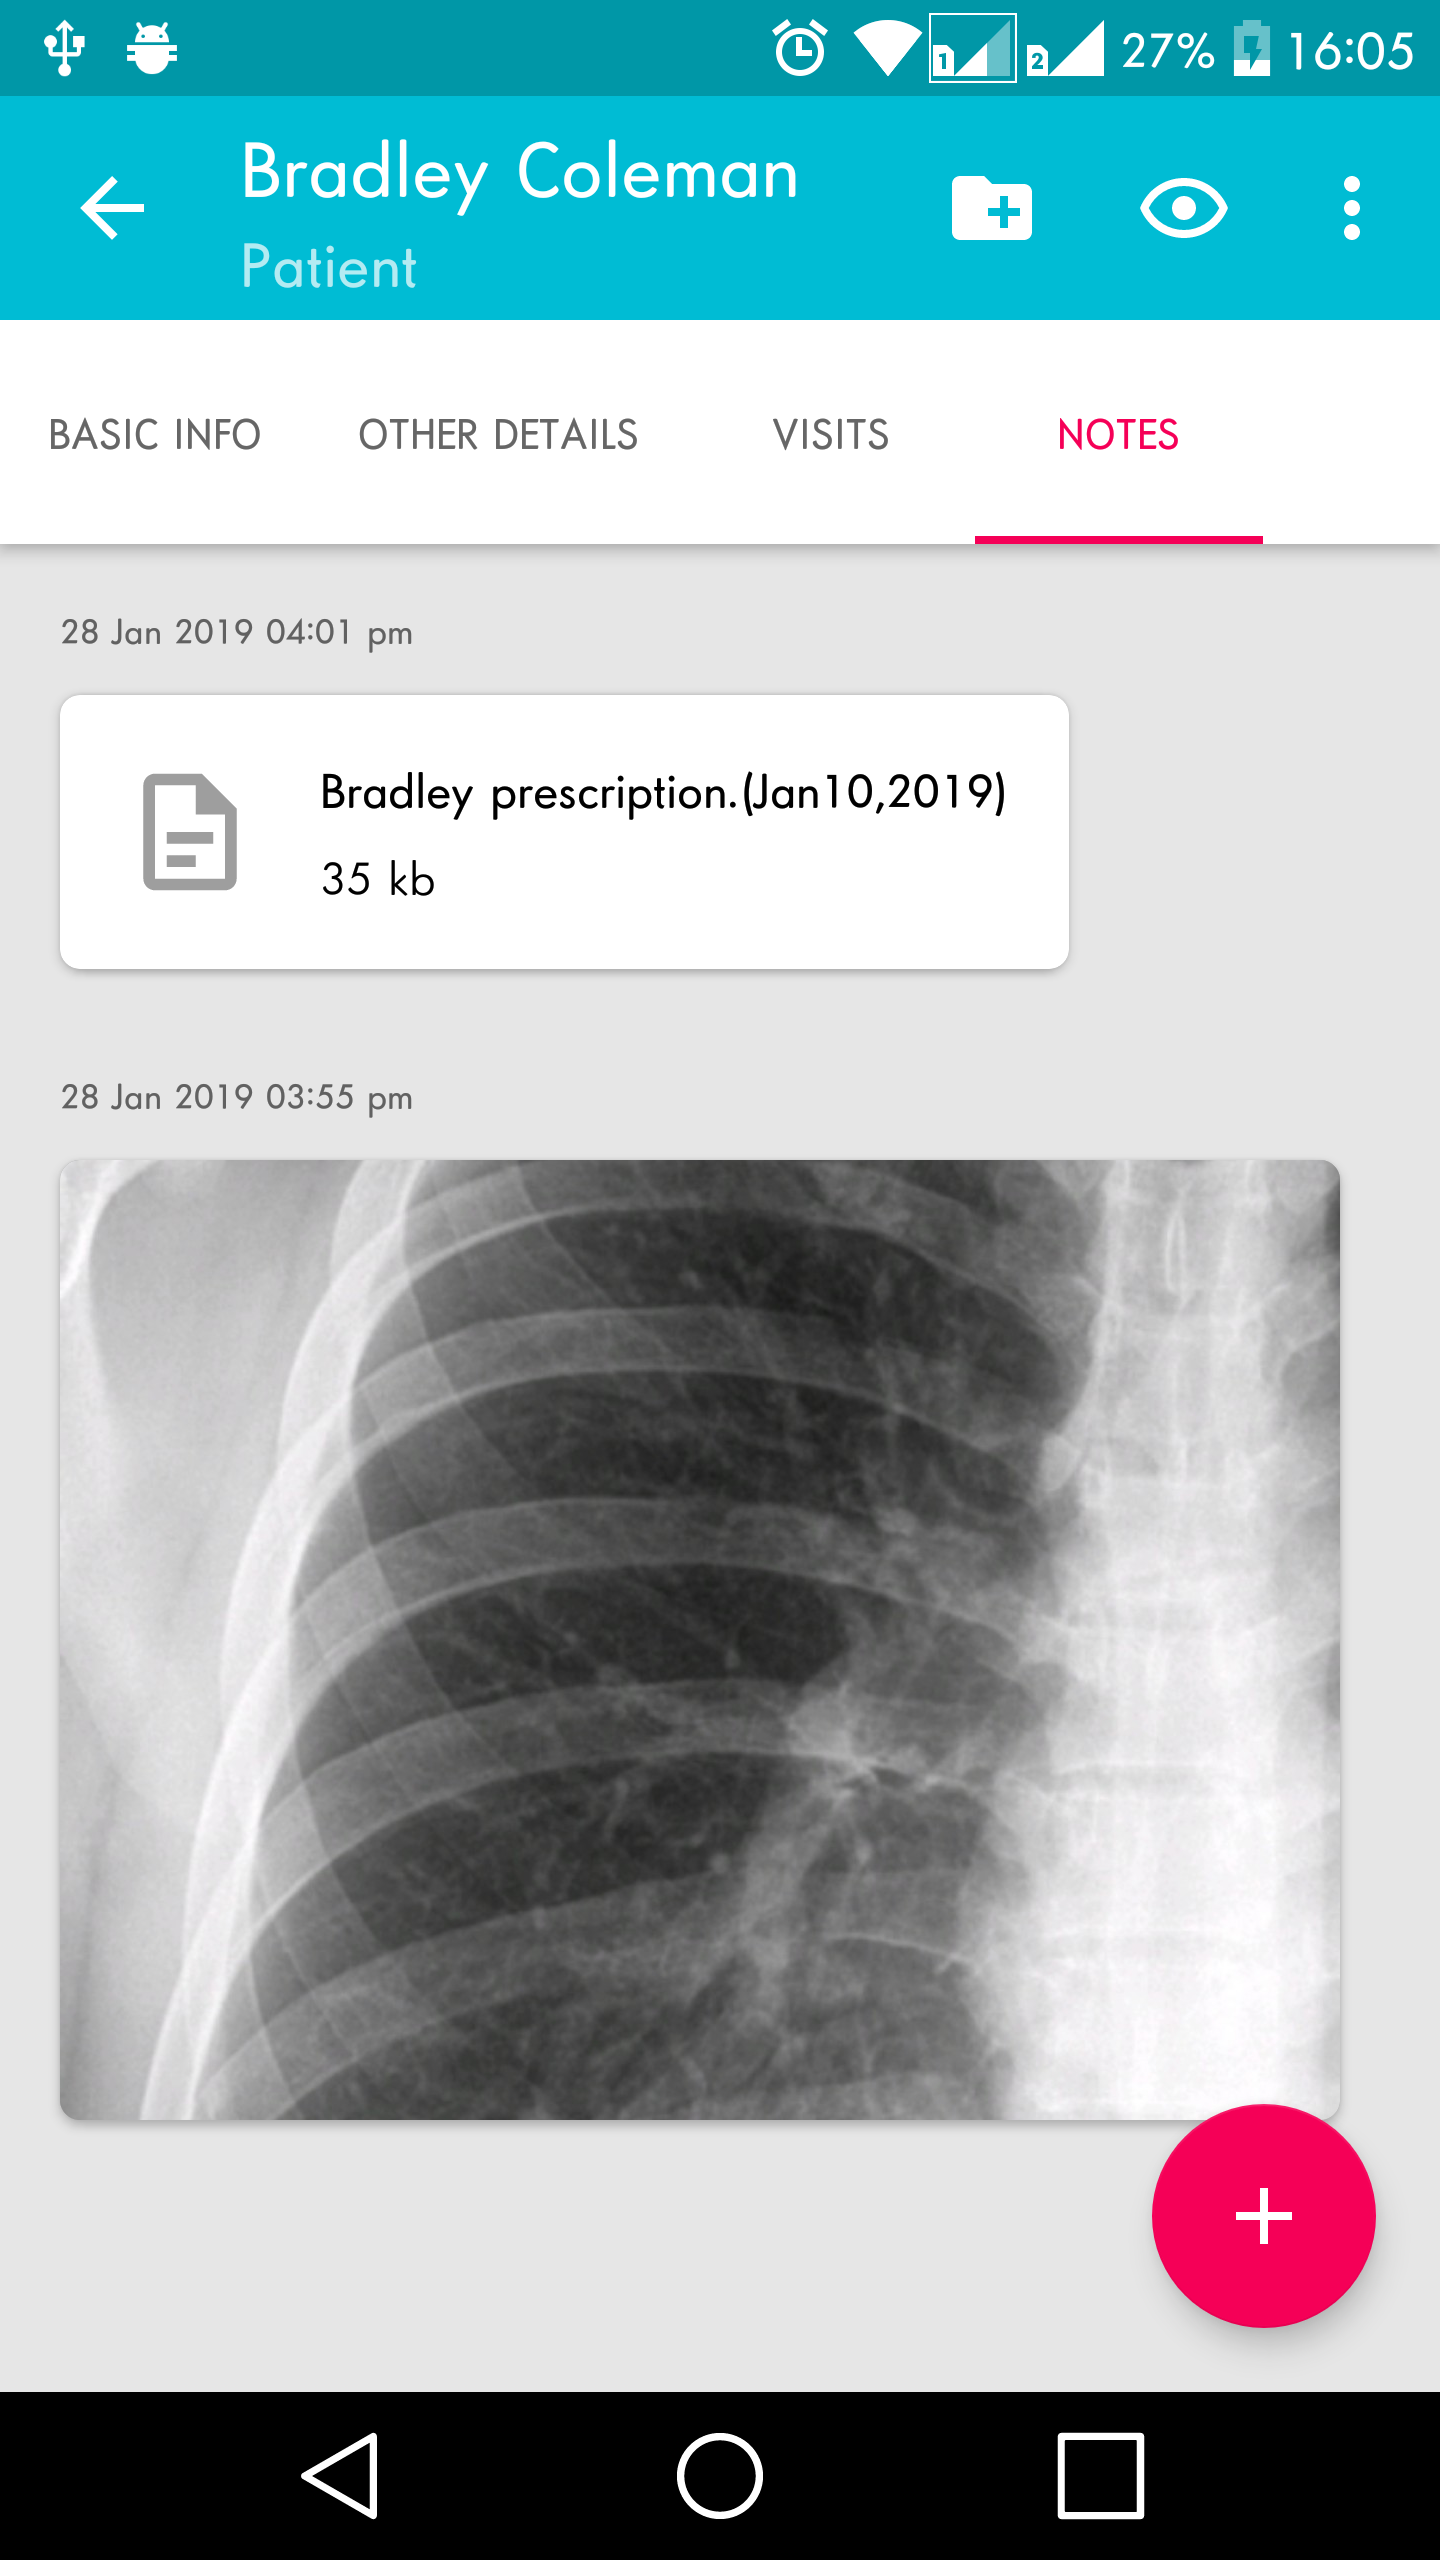
Step 8: The images and files have now been attached to the patient.